
Picture this: it’s a beautiful day, you’re cruising down the highway in your trusty car that you take great care of, and all of a sudden… BANG! The transport truck in front of you kicked up a rock and sent it straight into your windshield, cracking it right in your field of vision. Whelp, that means you’re going to need to hop online and check out a website like this one, www.superautoglasscalgary.ca, to figure out how to get a professional windshield replacement.
When you get a fresh windshield replacement, it can be kind of shocking how much cleaner it looks than your old one. All of the grime that accumulates on your windshield over the years can be barely perceptible because it happens gradually, but when you get a windshield replacement, your windshield looks as good as it did the day you drove it of the dealership.
But how can you keep your new windshield looking as good as it does on the same day it gets installed? One way is with regular, meticulous cleaning. Today’s article will tell you how to clean your windshield, every time perfectly.
Tools & Materials

Getting a perfectly clean windshield isn’t rocket science, but like rocket scientists, you need to do your prep work. For rocket scientists, that means countless years of study and complex mathematical calculations. For you, it means going to the local hardware store to pick up the materials you need for windshield cleaning. Fortunately, you don’t need to buy very much. All you really need to get a perfectly clean windshield is the following:
- Microfiber cloth
- Store bought glass cleaner or a homemade mix (made with water, a teaspoon of dishwashing liquid, a few drops of vinegar)
- Detailing clay
If you have extra rolls of paper towels lying around your garage, it can be tempting to use them instead of a microfiber cloth, but that would be a big mistake. Using paper towels to wipe down your windshield can leave lint, cause smears, or scratch the glass. That’s the last thing you want when the goal is to get your windshield squeaky clean.
Cleaning the Exterior
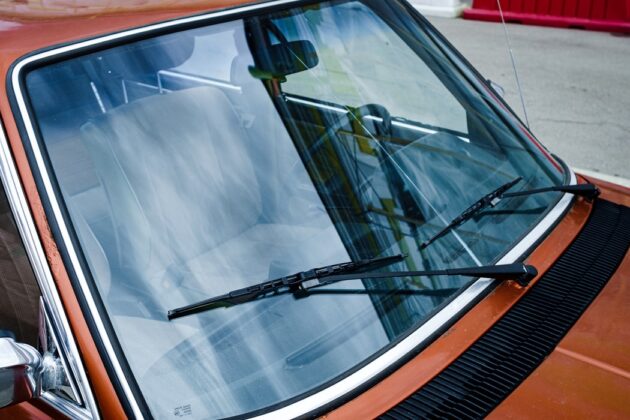
Once you get your materials, it’s time to start cleaning. Naturally, your windshield has two sides: the exterior (outside) and the interior (inside). Start your windshield cleaning on the exterior.
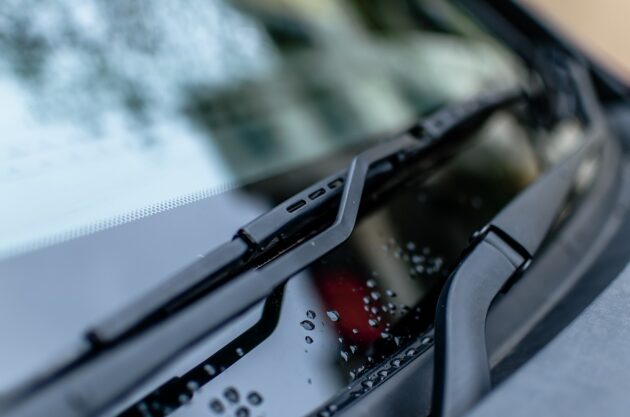
To start, lift up your windshield wipers to give yourself access to every inch of glass. Leave them up for the entire time you spend cleaning the exterior. Since it’s hard to reach across the length of your vehicle, start by spraying the glass cleaner on one side of the windshield. According to this website when wiping the cleaner with your microfiber cloth, use the top-down approach. . While holding the cloth, place against the glass at the windshield’s highest point and wipe straight down. Repeat this process, each time wiping a section of glass directly next to last, working your way closer to yourself and the edge of the windshield.
Once you’ve finished the vertical wipes, do the same thing, on the same side, only this time with horizontal wipes. Again, start from the top-center point of the glass. Wipe from the center towards your body, and move one step lower with each successive wipe. Keep going until the whole side has been wiped clean. Once you finish, repeat this process on the other half of the window.
If a particular spot is giving you a hard time, there’s nothing wrong with going over it multiple times. Just make sure you continue to use a back-and-forth wiping motion instead of circular motions. Circular motions can cause streaks.
The last step is to buff the windshield. Once the glass cleaner has been cleaned off, circular motions are back in business. Grab a clean cloth and start rubbing in tight, circular motions around the surface of the glass. Be careful you don’t miss any spots. Be aware that you may need to use multiple cloths for this part.
Cleaning the Interior

Time to move to the interior. Start by laying some clothes over the dashboard to catch any drips. Because of the windshield’s angle, it’s harder to spray the glass cleaner directly on the glass. Instead, spray the cleaner directly onto the cloth you’re going to wipe with, and only give the glass a couple of sprays.
Start on the passenger side to avoid dealing with the steering wheel. You’ll be using the tip-down approach again, but this time, start from the upper-right corner of the passenger side. Wipe straight down, and move each wipe one spot to the left until you reach the bottom-left corner of the driver side.
Once finished, use another fresh cloth to clean the remaining liquid off the glass. Again, use tight, circular motions.
Using Detailing Clay
If your windshield has some minor crevices on its surface, it can easily accumulate dirt and grime in those areas. Detailing clay, also known as glass cleaning clay, is an extremely useful tool for cleaning out those hard-to-reach areas.
To use detailing clay, mist your windshield with water, then apply an automotive lubricant to the glass. This combination of liquids helps you slide the clay around the glass’ surface. Hold the clay the same way you would hold a bar of bar soap, and place it in the center of the windshield. The difference between cleaning the exterior with glass cleaner and cloths, and detailing clay, is that you should use the bottom-up approach when using clay. Slide the clay from the bottom center to the top center in a vertical line, and repeat, moving the clay closer to yourself with every wipe. You’ll know you found a section with dirt or grime when the clay becomes harder to slide or stick in one spot. When you finish cleaning one side of the windshield, repeat the process from the other side.
Sometimes, small bits of clay get left behind, but that’s no problem. Use a clean microfiber cloth and wipe it in large circular motions this time. This should get rid of any extra clay that was left behind on the glass.